

How to Create Photo Name Art Video Editing in Kinemaster App: A Step-by-Step Guide
How to Create Photo Name Art Video Editing in Kinemaster App: A Step-by-Step Guide In this tutorial, we will guide you through the process of creating a captivating photo name art video using the popular Kinemaster app. This app provides powerful editing tools and features to help you turn your photos into visually stunning videos. By following the steps below, you'll be able to add personalized text and effects to your photos, resulting in a unique and eye-catching video creation. Let's get started.
Step 1: Install and Open Kinemaster App
Begin by installing the Kinemaster app on your smartphone or tablet. Once installed, open the app to start the video editing process.
Step 2: Import and Arrange Your Photos
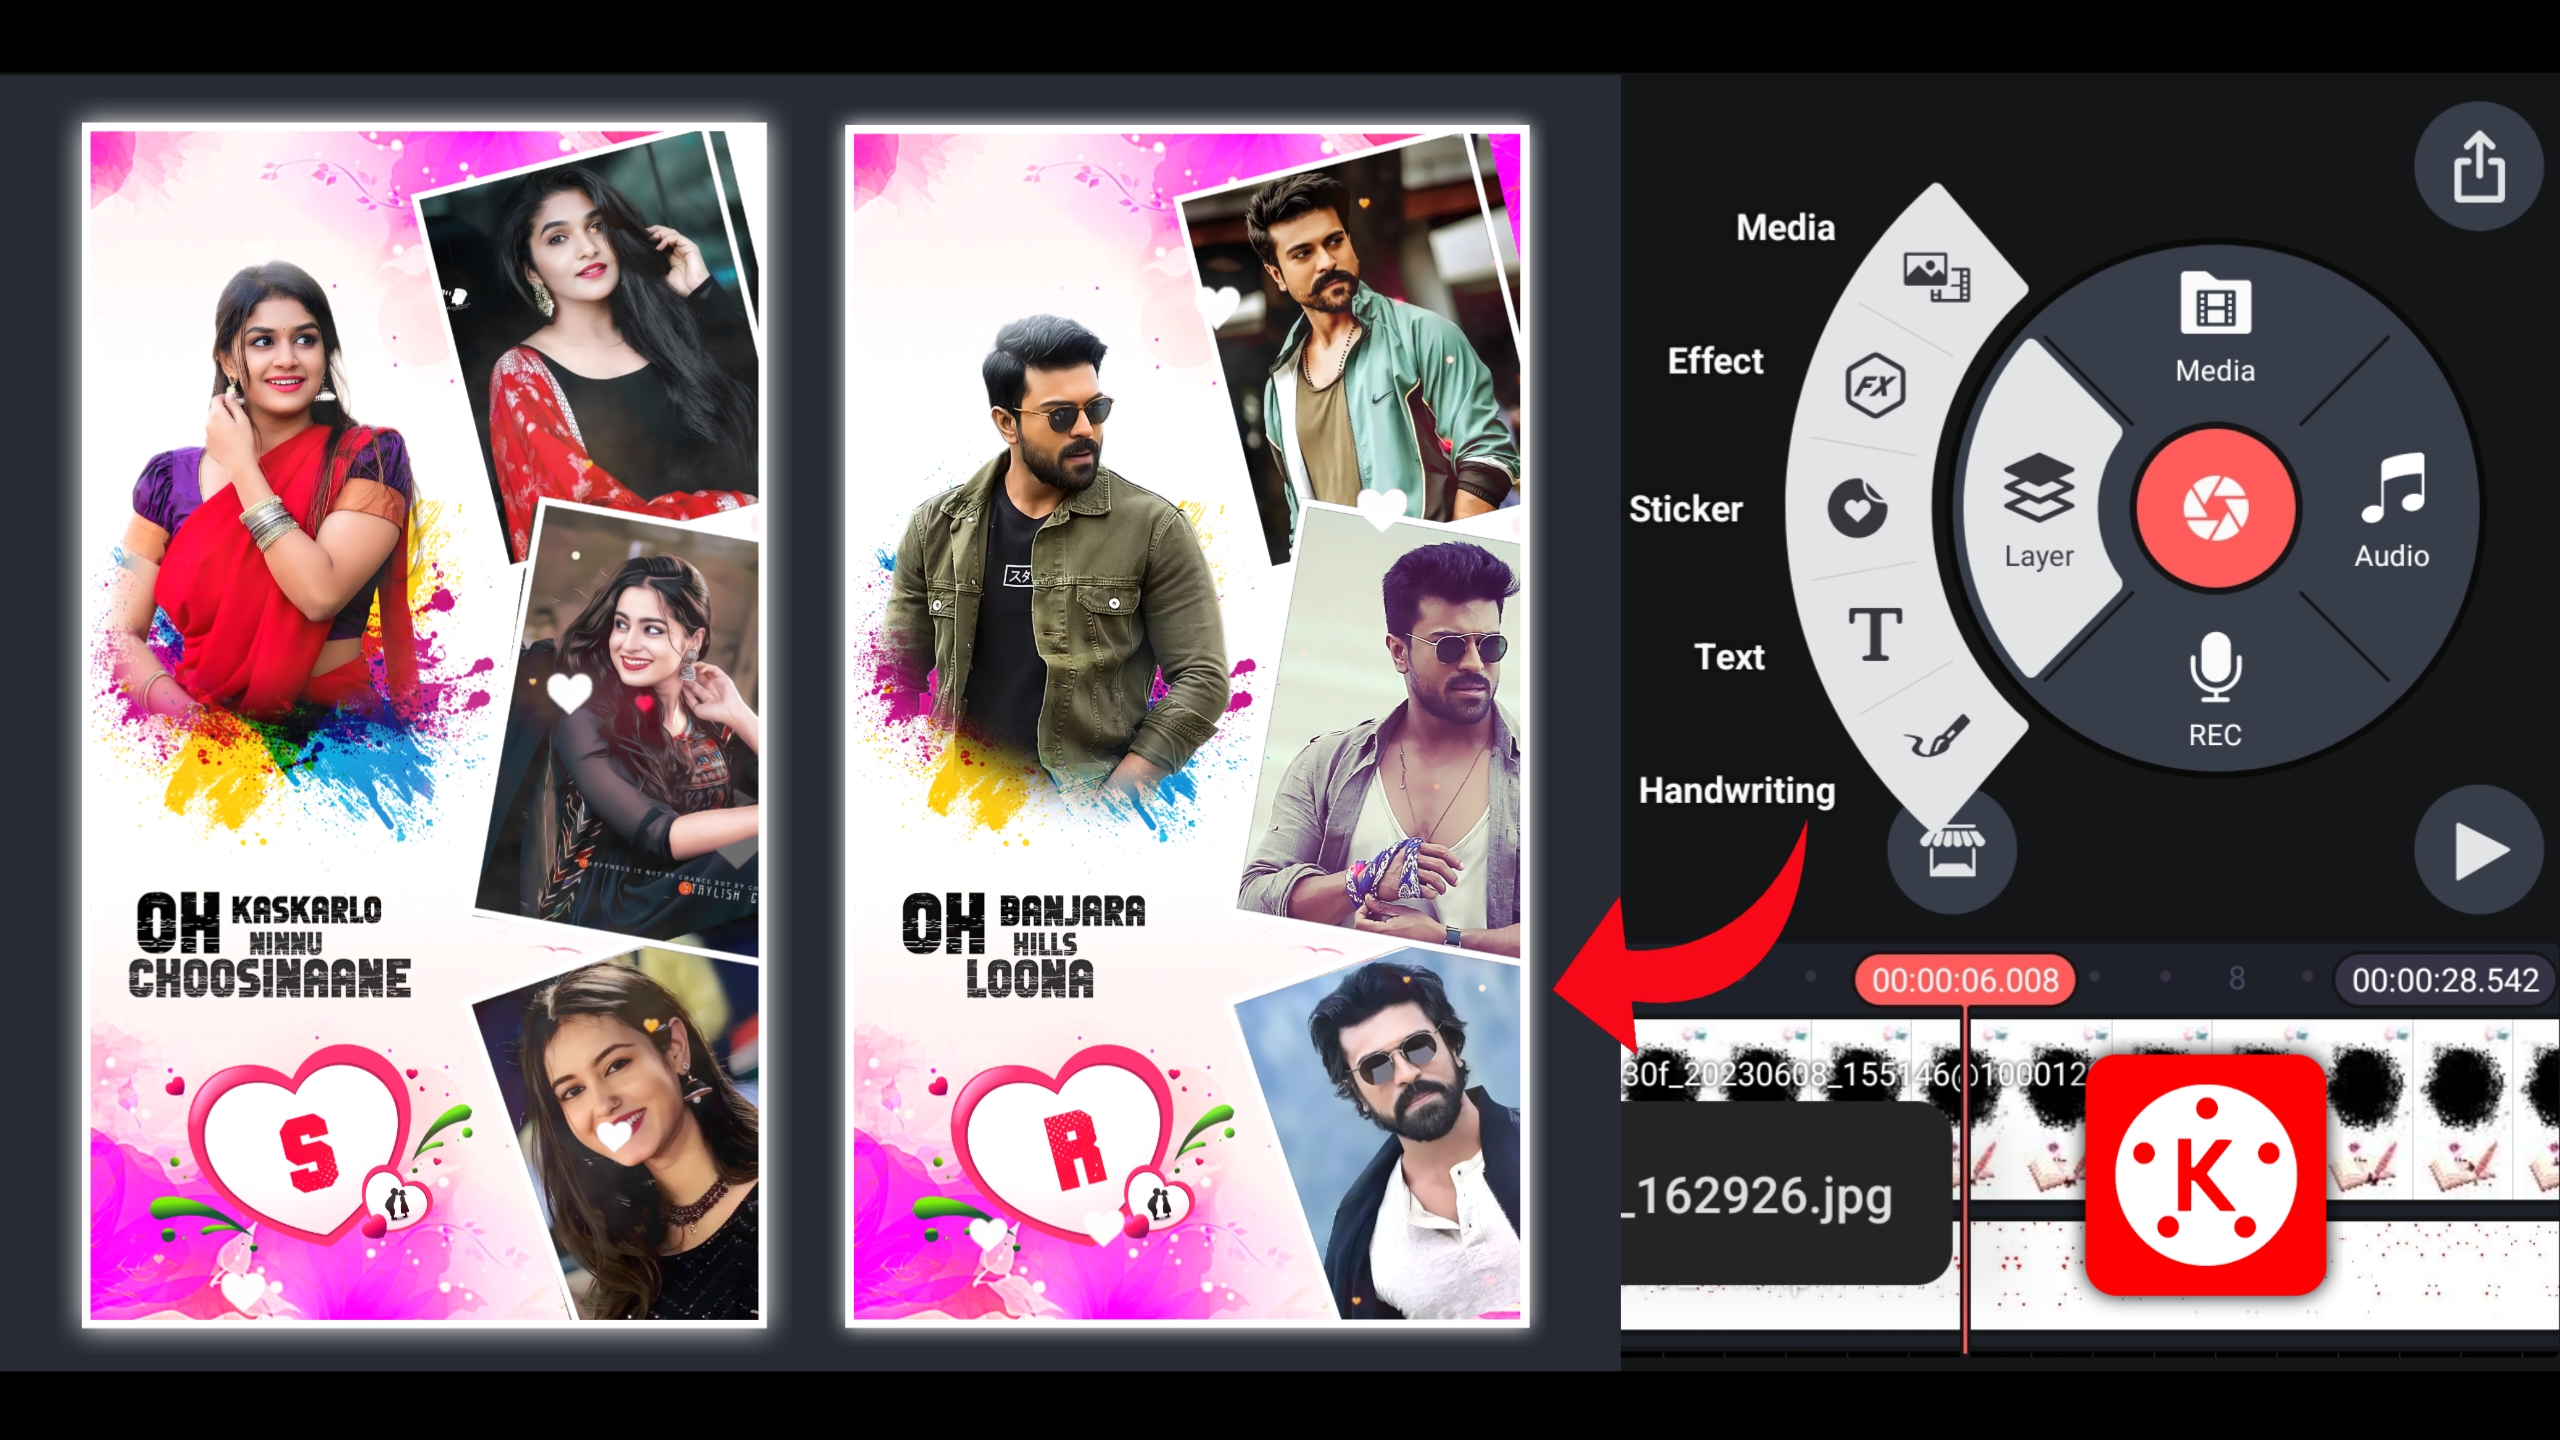
Tap on the "Media" button in Kinemaster to import the photos you want to include in your video. You can select multiple photos from your device's gallery. After importing, arrange the photos in the desired order by dragging and dropping them in the timeline.
Step 3: Add Text and Customization
To create the name art effect, tap on the "Layers" button and select "Text." Choose a font style, size, and color that complements your photos. Enter the desired text, such as a name or a quote, and position it appropriately on the photo. Repeat this step for each photo, customizing the text as needed.
Step 4: Apply Transitions and Effects
Enhance the visual appeal of your video by adding transitions between each photo. Kinemaster provides a variety of transition effects to choose from. Select the "Layer" button, then choose "Transition" to apply the desired effect. Experiment with different transitions to find the one that suits your video.
Step 5: Include Music and Audio
To add an audio track to your video, tap on the "Audio" button. You can either select a pre-existing music track from the Kinemaster library or import your own audio file. Adjust the volume and duration of the audio to fit the length of your video.
Step 6: Fine-tune and Preview
Once you've completed the above steps, review your video and make any necessary adjustments. Kinemaster allows you to trim, crop, and resize your photos if desired. Take advantage of these editing features to achieve the desired visual effect. Preview the video to ensure everything looks as you intended.
Step 7: Export and Share
After finalizing your photo name art video, tap on the "Export" button in Kinemaster. Choose the desired resolution and video quality settings. Kinemaster will process and render your video. Once complete, you can save it to your device and share it on social media platforms or with friends and family.
Conclusion:
By following these steps, you can create captivating photo name art videos using the Kinemaster app. Experiment with different fonts, effects, and transitions to unleash your creativity and produce unique and personalized videos. Have fun exploring the possibilities and sharing your creations with others.
All Materials
Lyrics Video
Particles Video
Love Heart PNG
Background Image
Ink Splash PNG
Photo Frame PNG
Font


0 Comments